In general, most beginner-friendly isopod species breed readily on their own once basic care needs are met — you don’t need to do anything special to encourage it beyond keeping conditions stable. First confirm you have both sexes — how to sex isopods.
Signs Your Isopod Colony Is Breeding
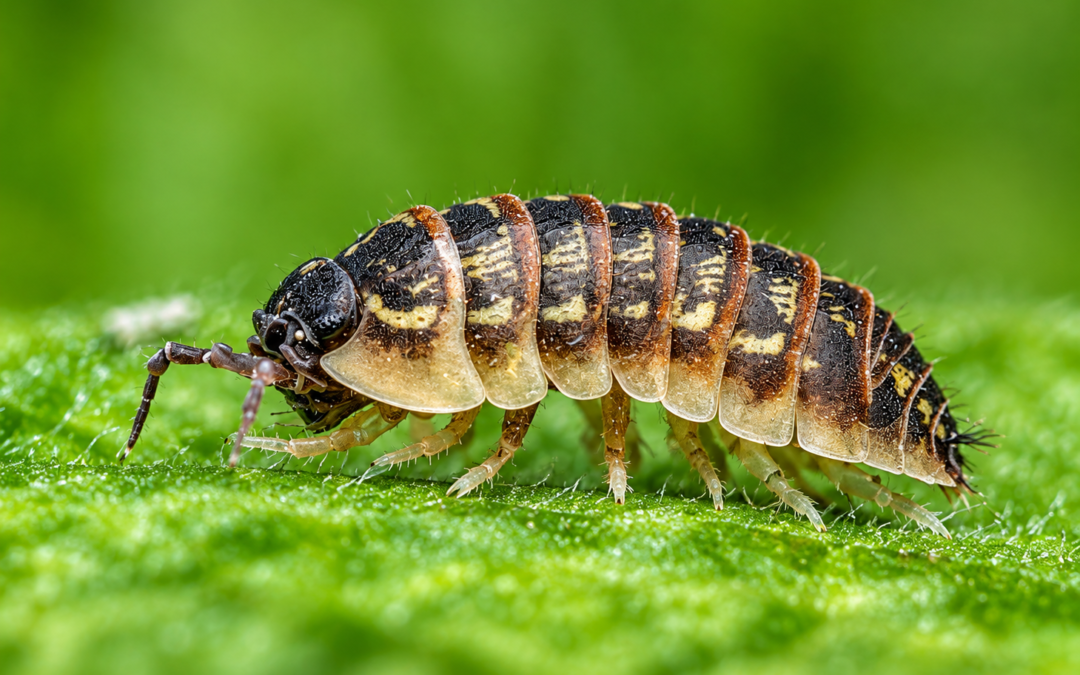
For example, female isopods carry fertilized eggs in a fluid-filled pouch called a marsupium, visible as a pale, swollen area on the underside. After several weeks, tiny white juveniles called “mancae” emerge and gradually darken as they mature.
What Encourages Breeding
- Stable humidity — inconsistent moisture is one of the biggest breeding disruptors
- Adequate calcium — necessary for both molting and reproductive health, see our feeding guide
- Minimal disturbance — frequent digging through substrate to check on isopods can stress a colony and slow breeding
- Sufficient colony size — very small starting colonies (under 10 individuals) take longer to establish breeding pairs
How Long Until You See Growth?
Most beginner species show visible population growth within 2-4 months of a stable setup. Faster-breeding species like Porcellio laevis (see our Dalmatian isopod guide) may show growth sooner.
When Breeding Slows or Stops
If your colony was breeding and then stalls, check for the common culprits: substrate too dry or too wet, calcium deficiency, or overcrowding. Review our common mistakes guide to rule out the usual causes.
How Do Isopods Reproduce?
After mating, the female carries her eggs in a marsupium — a brood pouch under her body — for several weeks. When the eggs hatch, tiny white mancae (baby isopods) emerge. Mancae look like miniature adults and grow through successive molts, gradually gaining color and size. You may first notice them as tiny white specks under bark, leaves, or the water dish area. Avoid disturbing the colony heavily during this time: stable moisture, steady food, and hiding spots matter more than any breeding trick.
How Often Do Isopods Reproduce?
It depends on the species and the setup. In a stable, warm, humid enclosure with steady food, many common species produce broods repeatedly through the year, while some species breed more slowly or seasonally. A healthy colony usually grows in waves rather than constantly — a burst of mancae, then a quieter period, then another burst. If breeding has stopped, check the usual suspects first: moisture swings, low temperatures, poor food, or a colony that has outgrown its space.
How Many Isopods Do You Need to Start a Colony?
Ten isopods can work, but a larger starter group usually establishes faster and is more forgiving of early losses. Twenty to thirty founders give you more genetic diversity, more frequent broods, and a colony that recovers better if a few individuals die. For slow-breeding or expensive species, starting with more founders is worth it; for fast-breeding common species, even a small group will usually take off with patience.
Frequently Asked Questions
How to breed isopods?
Give them a stable setup: a moisture gradient, hiding spots, leaf litter, a calcium source, and varied food — then be patient and avoid disturbing the colony. Most common species breed readily once conditions are steady.
How do isopods mate?
After mating, the female carries eggs in a marsupium (brood pouch) under her body for several weeks. Tiny white mancae then emerge and grow through successive molts into miniature adults.
How often do isopods reproduce?
It depends on species and conditions. In a stable, warm, humid setup with steady food, many common species produce broods repeatedly through the year; others breed more slowly or seasonally. Growth usually comes in waves.
Is 10 isopods enough to start a colony?
Yes, ten can work, but twenty to thirty founders usually establish faster and recover better from early losses. Larger starter groups mean more genetic diversity and more frequent broods.
References
- Australian Museum — Isopoda: australian.museum
- Encyclopaedia Britannica — Isopod: britannica.com
Note: Isopod care requirements can vary by species, enclosure size, and local conditions — treat the guidance above as a starting point and adjust to what your colony shows you.